
Can You Plaster Over Wallpaper?
Plastering is one of the most frequent tasks that is needed when embarking on a DIY or interior design project. Plaster is a building material that is used to protect a wall, and involves spreading the substance evenly over a wall.
Due to how commonly required it is, it’s not often necessary to call upon the services of a professional plaster or tradesperson to carry out the task. However, if you need to plaster a wall in your home it’s important you understand how to do so correctly.
Many houses have wallpapered walls, and, especially in properties that are older, sometimes it can be difficult to remove.
With this in mind, there may be occasions when people decide to simply plaster over the existing wallpaper. But can you plaster over wallpaper?
In this article, we’ll take a look at this question explaining whether plastering on wallpaper can be done or not. Read on to find out more.

Can You Plaster Over Wallpaper?
Plastering over wallpaper, or line paper, is not recommended and should always be avoided. This is because placing plaster on wallpaper can actually cause all kinds of problems, making the fairly simple task far more complicated.
If you do leave wallpaper on the wall while you’re plastering, the plaster’s moisture may be absorbed into the paper. This will make it far more difficult for the plaster to set. Therefore, more and more plaster may need to be applied to the wall, making the task more time-consuming and less effective. In some cases, the plaster can simply fall off the wall after you’ve applied it as it will struggle to adhere to the wallpaper.
Moreover, if you do plaster over wallpaper, the paper may actually become unstuck – meaning it needs to be removed anyway. This means that you may as well have removed the paper in the first place.
When Do You Need To Replaster A Wall?
Replastering a wall may be necessary for various reasons, and the decision to do so depends on the condition of the existing plaster. Some of the most common situations that might indicate that a wall needs replastering include:
Cracks qnd Damage
The main purpose of plaster is to ensure a wall is protected, but it’s normal for the plaster to suffer from wear and tear over time. If your wall’s existing plaster has developed extensive cracks, chips or other forms of damage, it may be more practical to replaster the wall rather than continually patching over affected areas.
Water Damage
Leaks and floods can do severe damage to your home, and this is also true of your property’s walls. Water damage is likely to significantly compromise the integrity of your plaster, and if your home has suffered from a leak then it’s likely that some kind of replastering is going to be required. Inspect the wall and if it has become soft, discoloured or is showing signs of mould, it might need replacing.
Uneven or Bulging Areas
If you notice areas on a wall where the plaster has become uneven or bulging, it means the original plaster has separated from the wall substrate. In these cases, replastering may be required to restore a smooth and stable surface.
Old Plaster
Over the years, plaster can deteriorate due to its age or exposure to the elements. If the plaster is crumbling, has become powdery or seems to be coming away from the wall it may need to be replaced by new plaster to ensure it is correctly protecting your surface.
Remodelling or Renovation
If your home is undergoing any remodelling or renovation projects, replastering a wall may be worthwhile. This is because new plaster may help you to achieve the fresh and updated look that you’re aiming for.
How to Plaster a Wall?
The process of plastering a wall involves applying a layer of plaster to create a smooth, even surface. If you need to plaster a wall as part of a DIY project or for any other purpose, follow the steps below in order to do so most effectively.
Gather Your Materials and Tools
Before you begin plastering, make sure you have all the equipment you need to conduct the process most efficiently.
You will need:
- Plaster
- A mixing bucket
- Plastering trowels
- A hawk (a plastering tool)
- Jointing knife
- Water
- Sandpaper
- Dust sheets
Once you have all of the above, you can begin.
Remove Wallpaper
If you’re plastering a wall that has wallpaper on it, make sure to remove the wallpaper first. There are a number of methods you can use to do this. You can either use an electric wallpaper stripper, a hand wallpaper scraper, or a combination of the two. Make sure all of the wallpaper has been removed before applying any plaster.
Prepare the Wall
Once the wallpaper has been removed, you need to prepare the surface. Ensure the wall is clean, dry and free of dust, dirt and debris. If the wall has any lumps or bumps, it’s important to smooth it out before applying plaster. Use sandpaper to do this.
The smoother the surface, the easier it’ll be for the plaster to adhere to it.
Mix the Plaster
Follow the instructions on the plaster packaging to properly prepare and mix your plaster. Usually, this will involve adding the plaster to water and continuously stirring to achieve a smooth. Lump-free consistency. Allow the substance to sit for a few minutes before you use it.
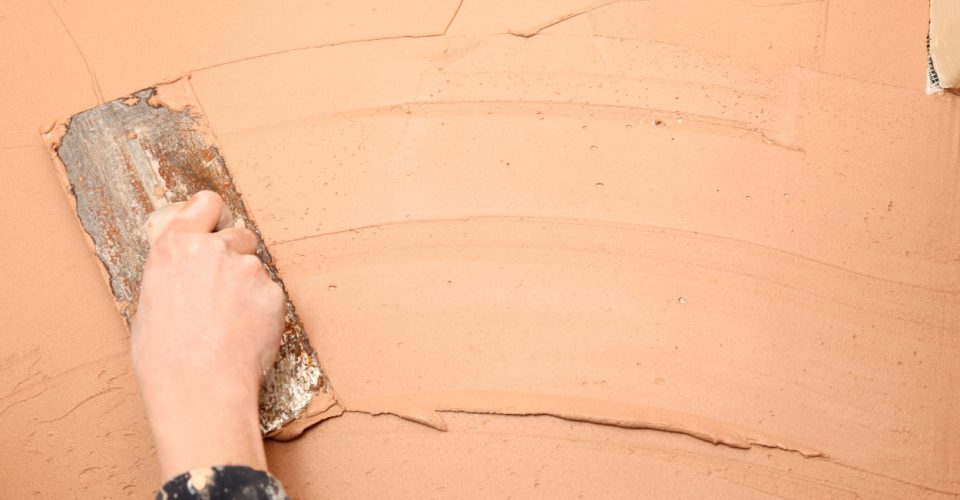
Apply the Base Coat
Using a hawk and a plastering trowel, apply the first coat of plaster to the wall. Start from the bottom of the surface and work your way up, angling the trowel as you do so.
Apply the plaster in upward strokes, covering the entire surface with an even layer. This base coat is also known as the scratch coat.
Key the Surface
While the plaster is still wet, use the edge of the trowel to create a rough texture on the surface. This will help the next layer of plaster adhere better and is known as keying the surface.
Apply the Second Coat
Once the first coat has been set, apply a second coat of the plaster. Again, smooth this out with a trowel.
When the second coat has dried, go over any imperfections or uneven parts with sandpaper to keep the wall smooth.
